> For the complete documentation index, see [llms.txt](https://docs.cakewallet.com/llms.txt). Markdown versions of documentation pages are available by appending `.md` to page URLs; this page is available as [Markdown](https://docs.cakewallet.com/get-started/setup/restore-existing-wallet/hardware-wallet.md).
# Hardware wallet
Connect a Ledger, Trezor, BitBox, COLDCARD, or Cupcake hardware wallet to Cake Wallet, with supported coins per device and Bluetooth, USB, or QR steps.
{% hint style="info" %}
Hardware wallet support is limited to specific devices and currencies. Check the lists below before you start.
{% endhint %}
## Supported devices
**Connected over Bluetooth or USB**
* **Ledger** — Monero, Bitcoin, Litecoin, Ethereum, Polygon
* **Trezor** — Monero, Bitcoin, Litecoin, Ethereum, Polygon
* **BitBox** — Bitcoin, Ethereum, Polygon (**Android only**)
**Air-gapped, over QR codes** — these devices are never plugged in or paired. Cake Wallet displays a QR code, you scan it with the device, and then scan the signed result back into Cake Wallet.
* **COLDCARD** — Bitcoin, using either the `BCUR` or `BBQR` QR code format
* **Cupcake** — Cake's own air-gapped signing app; see the [Cupcake documentation](https://docs.cakewallet.com/cupcake)
{% hint style="warning" %}
**SeedSigner**, **Keystone** and **Foundation Passport** are listed in the app under `Coming Soon` and cannot be used yet. **BitBox** is also marked `Coming Soon` on anything other than Android.
{% endhint %}
{% hint style="info" %}
**Trezor:** Cake Wallet recognizes the Trezor Model One, Model T, Safe 3, Safe 5 and Safe 7. How it talks to your Trezor depends on the coin:
* **Bitcoin and Monero** use Cake Wallet's built-in Trezor connection: select your Trezor in Cake Wallet and approve on the device — no Trezor Suite, bridge, or separate app needed. The Safe 7 connects over Bluetooth or USB; the Model One, Model T, Safe 3 and Safe 5 connect over USB only, and Cake Wallet offers USB on Android only. On iPhone and iPad, that means you need a Safe 7.
* **Litecoin, Ethereum and Polygon** use Trezor Connect. Cake Wallet skips its own device connection step and opens Trezor Connect outside the app, which passes the result back to Cake Wallet.
{% endhint %}
## Restore wallet from hardware
{% stepper %}
{% step %}
### Step 1
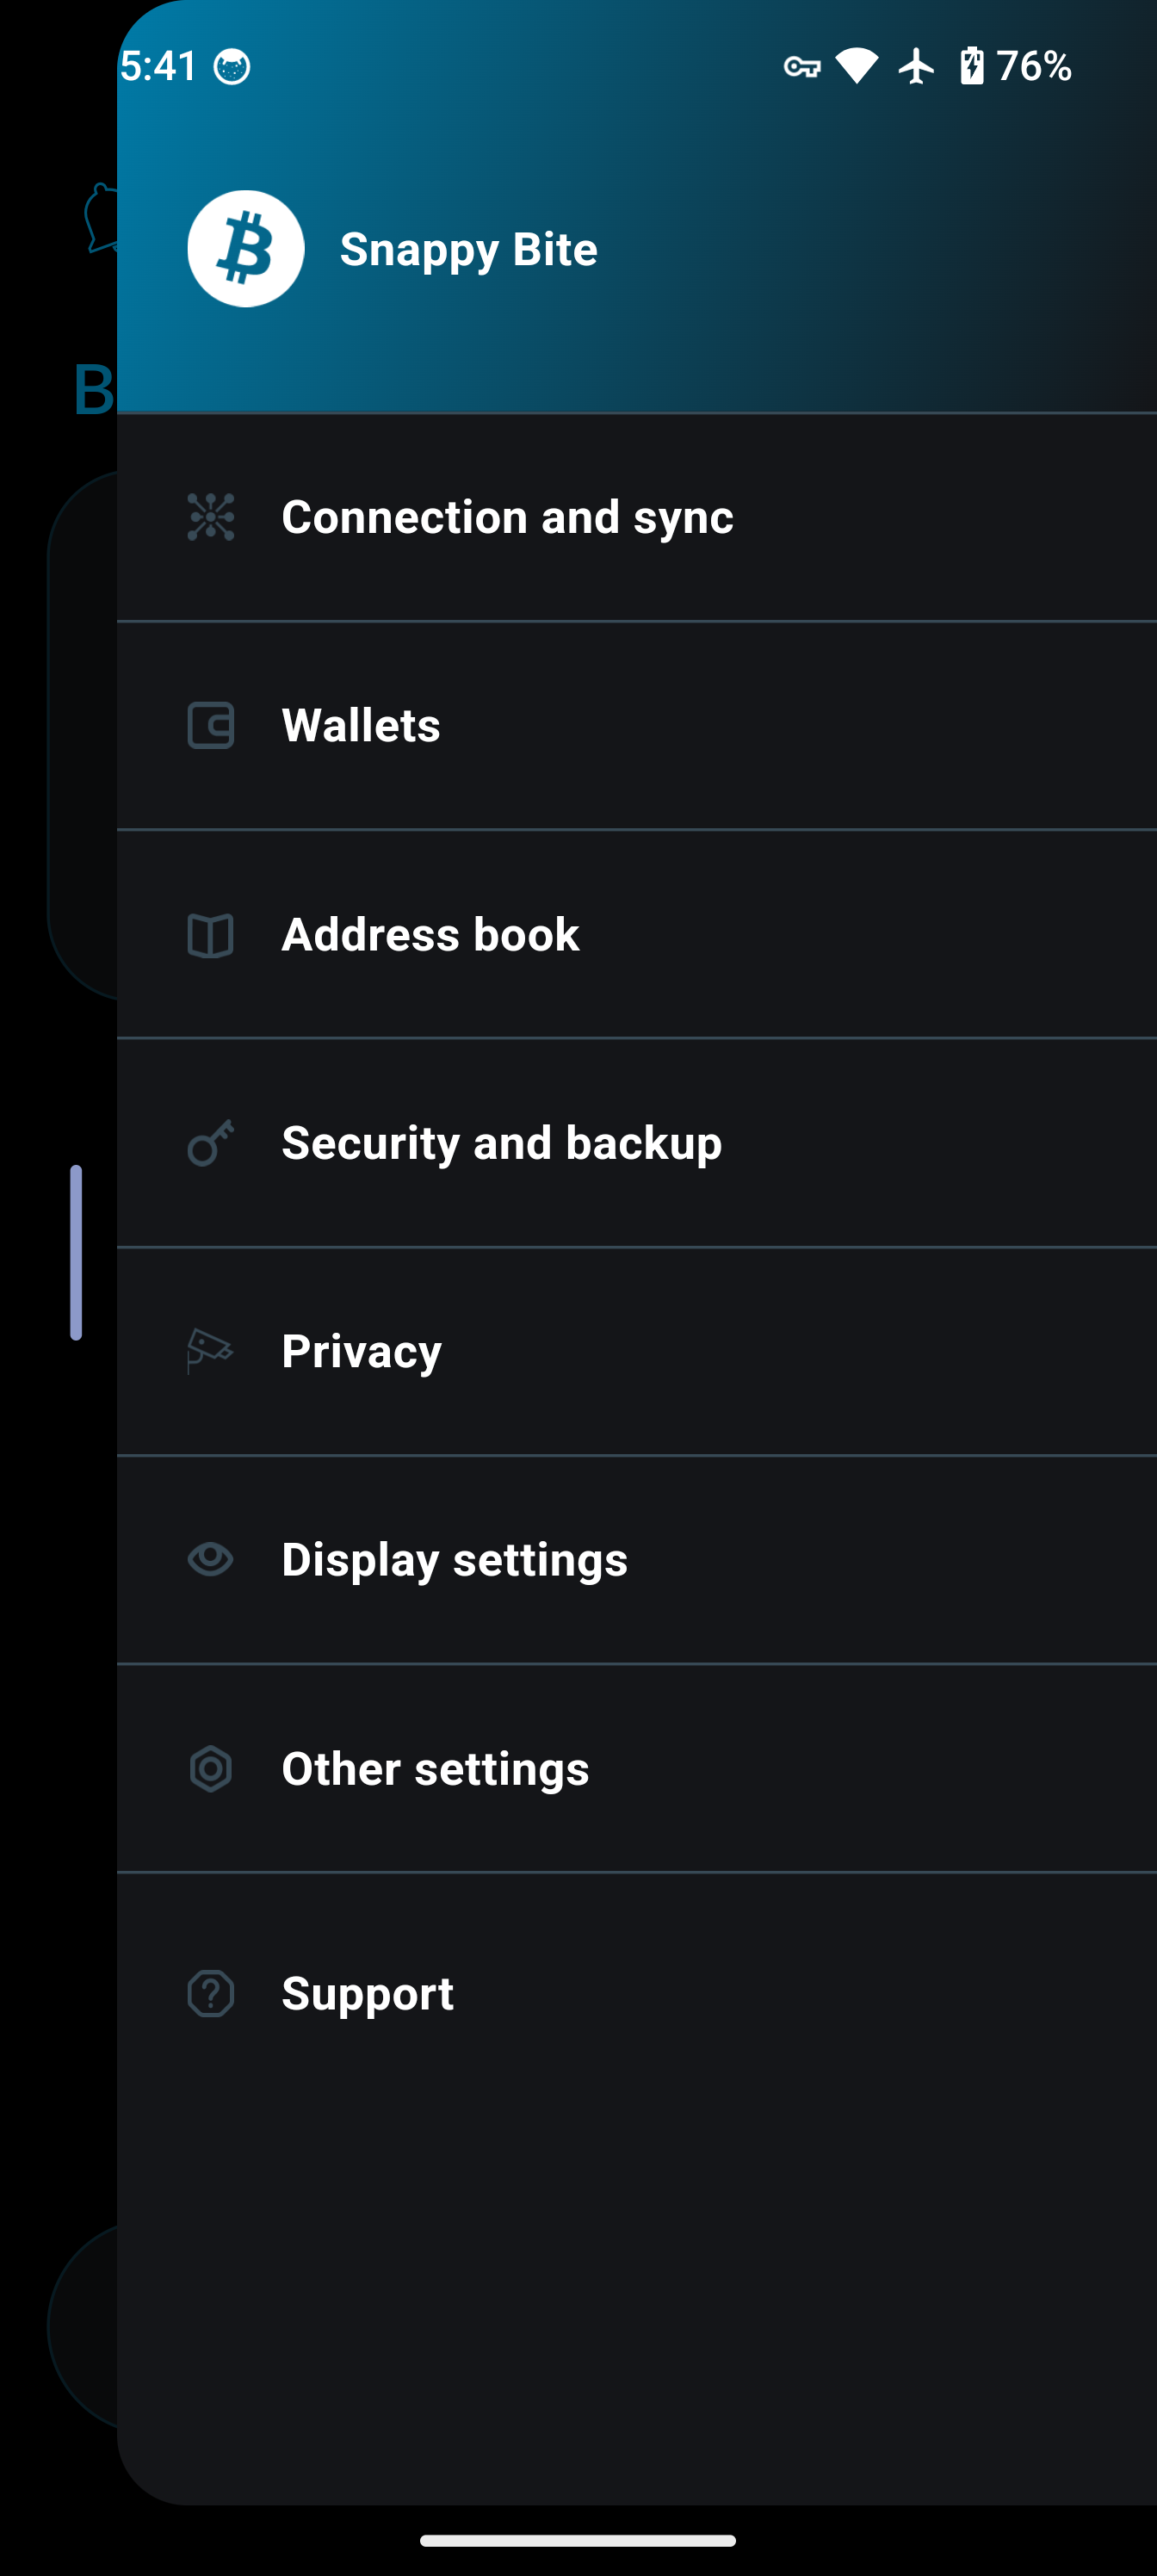
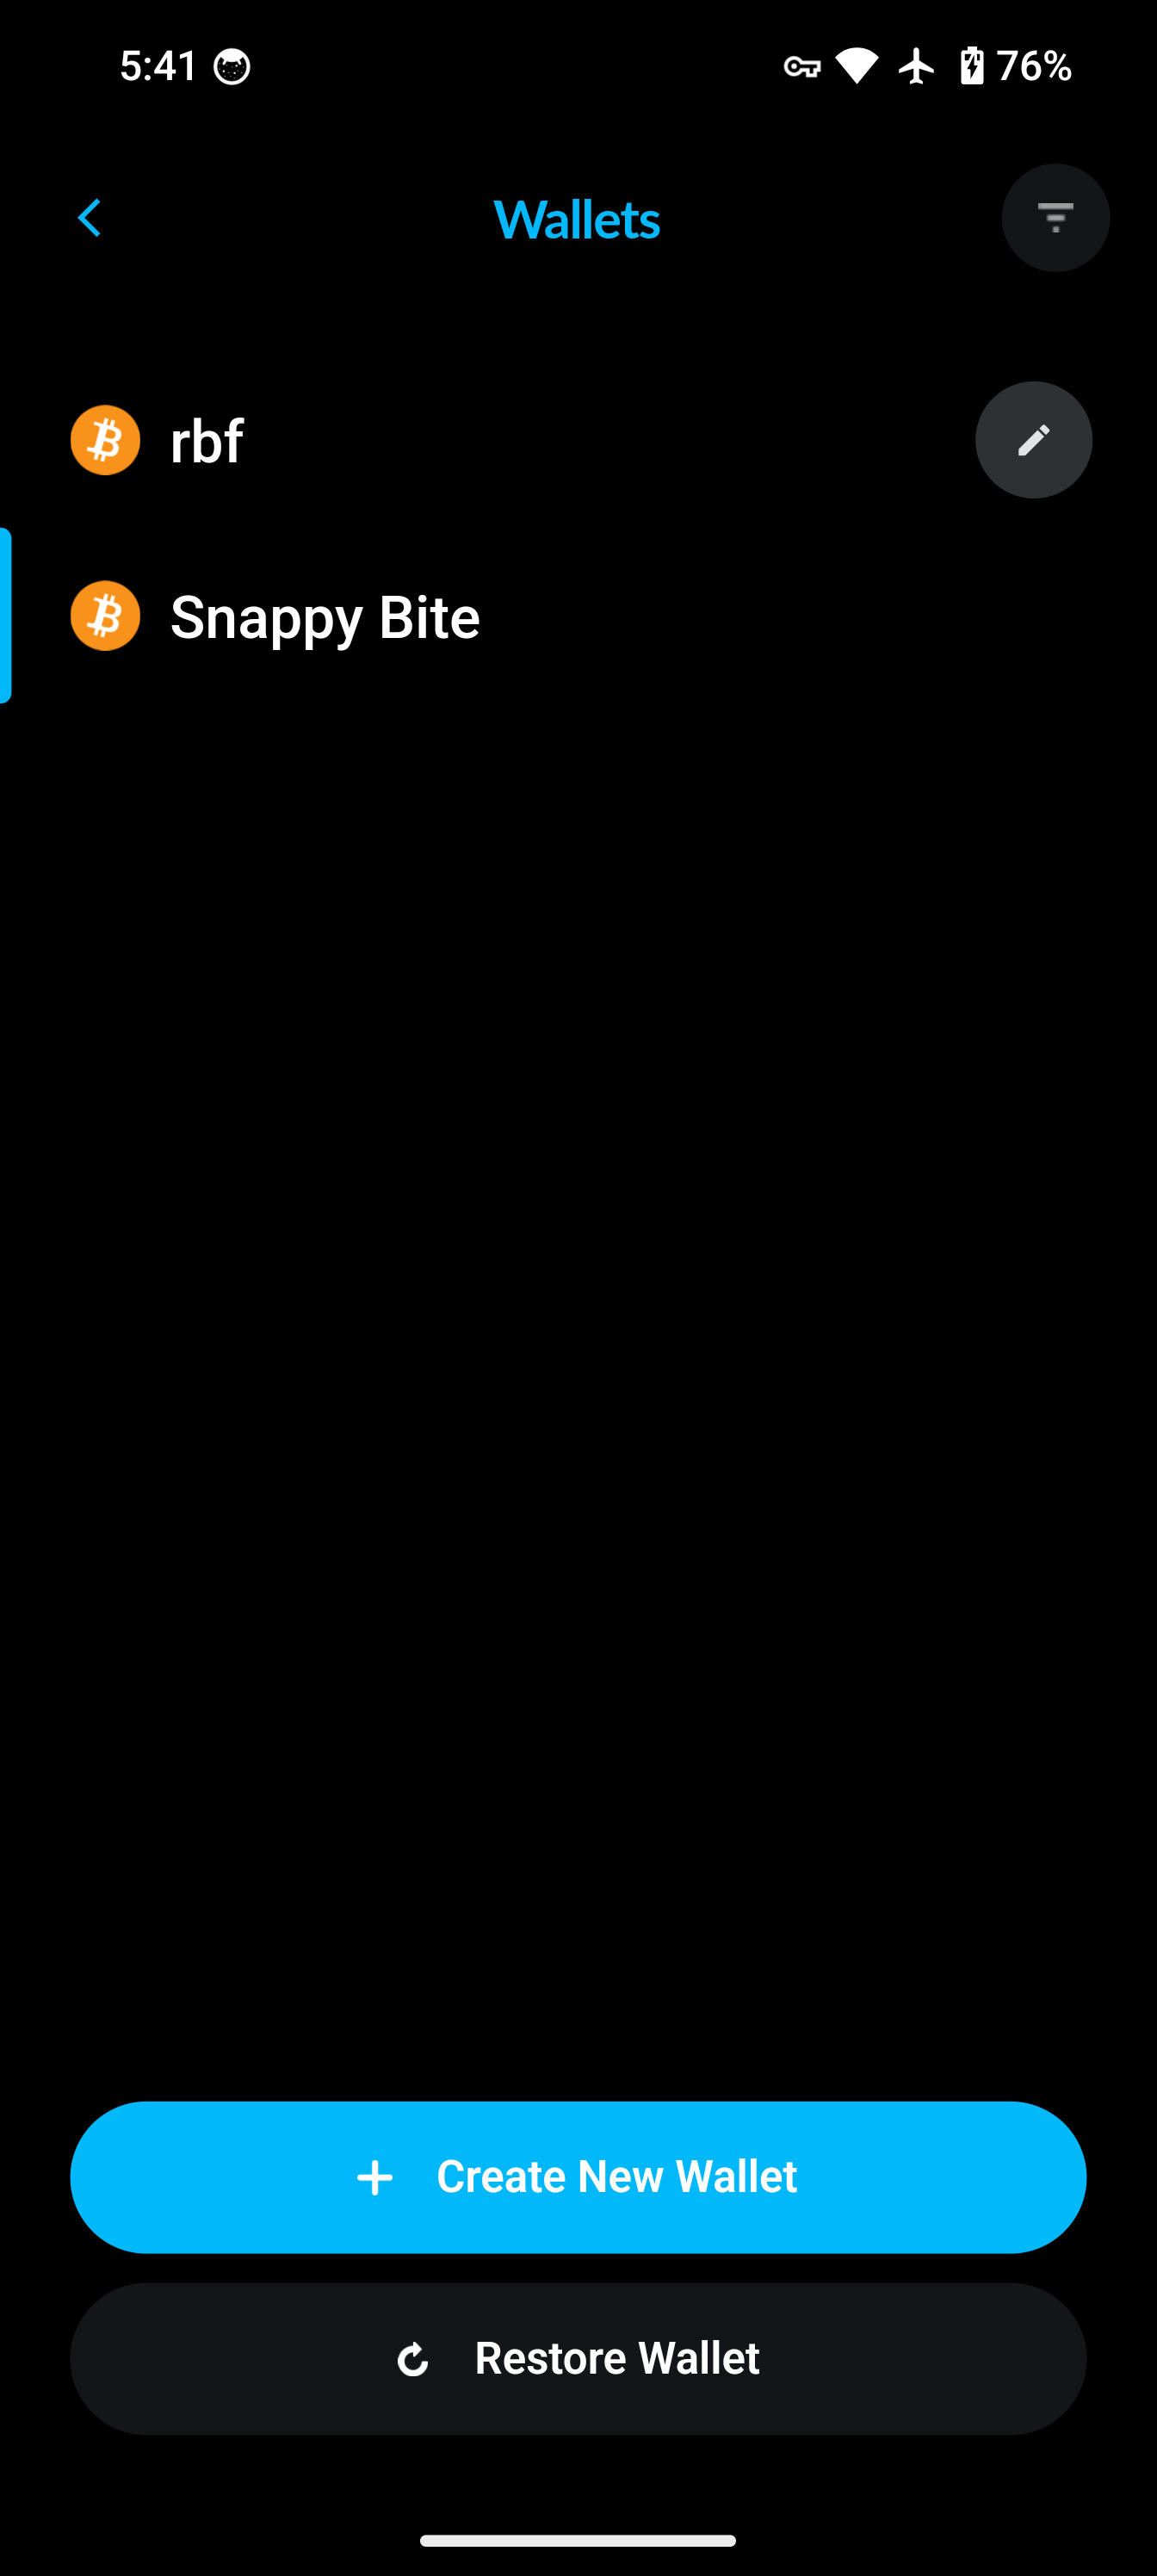
Go to the `Wallets` tab in the bottom navigation bar, then tap `Restore Wallet`.
{% endstep %}
{% step %}
### Step 2
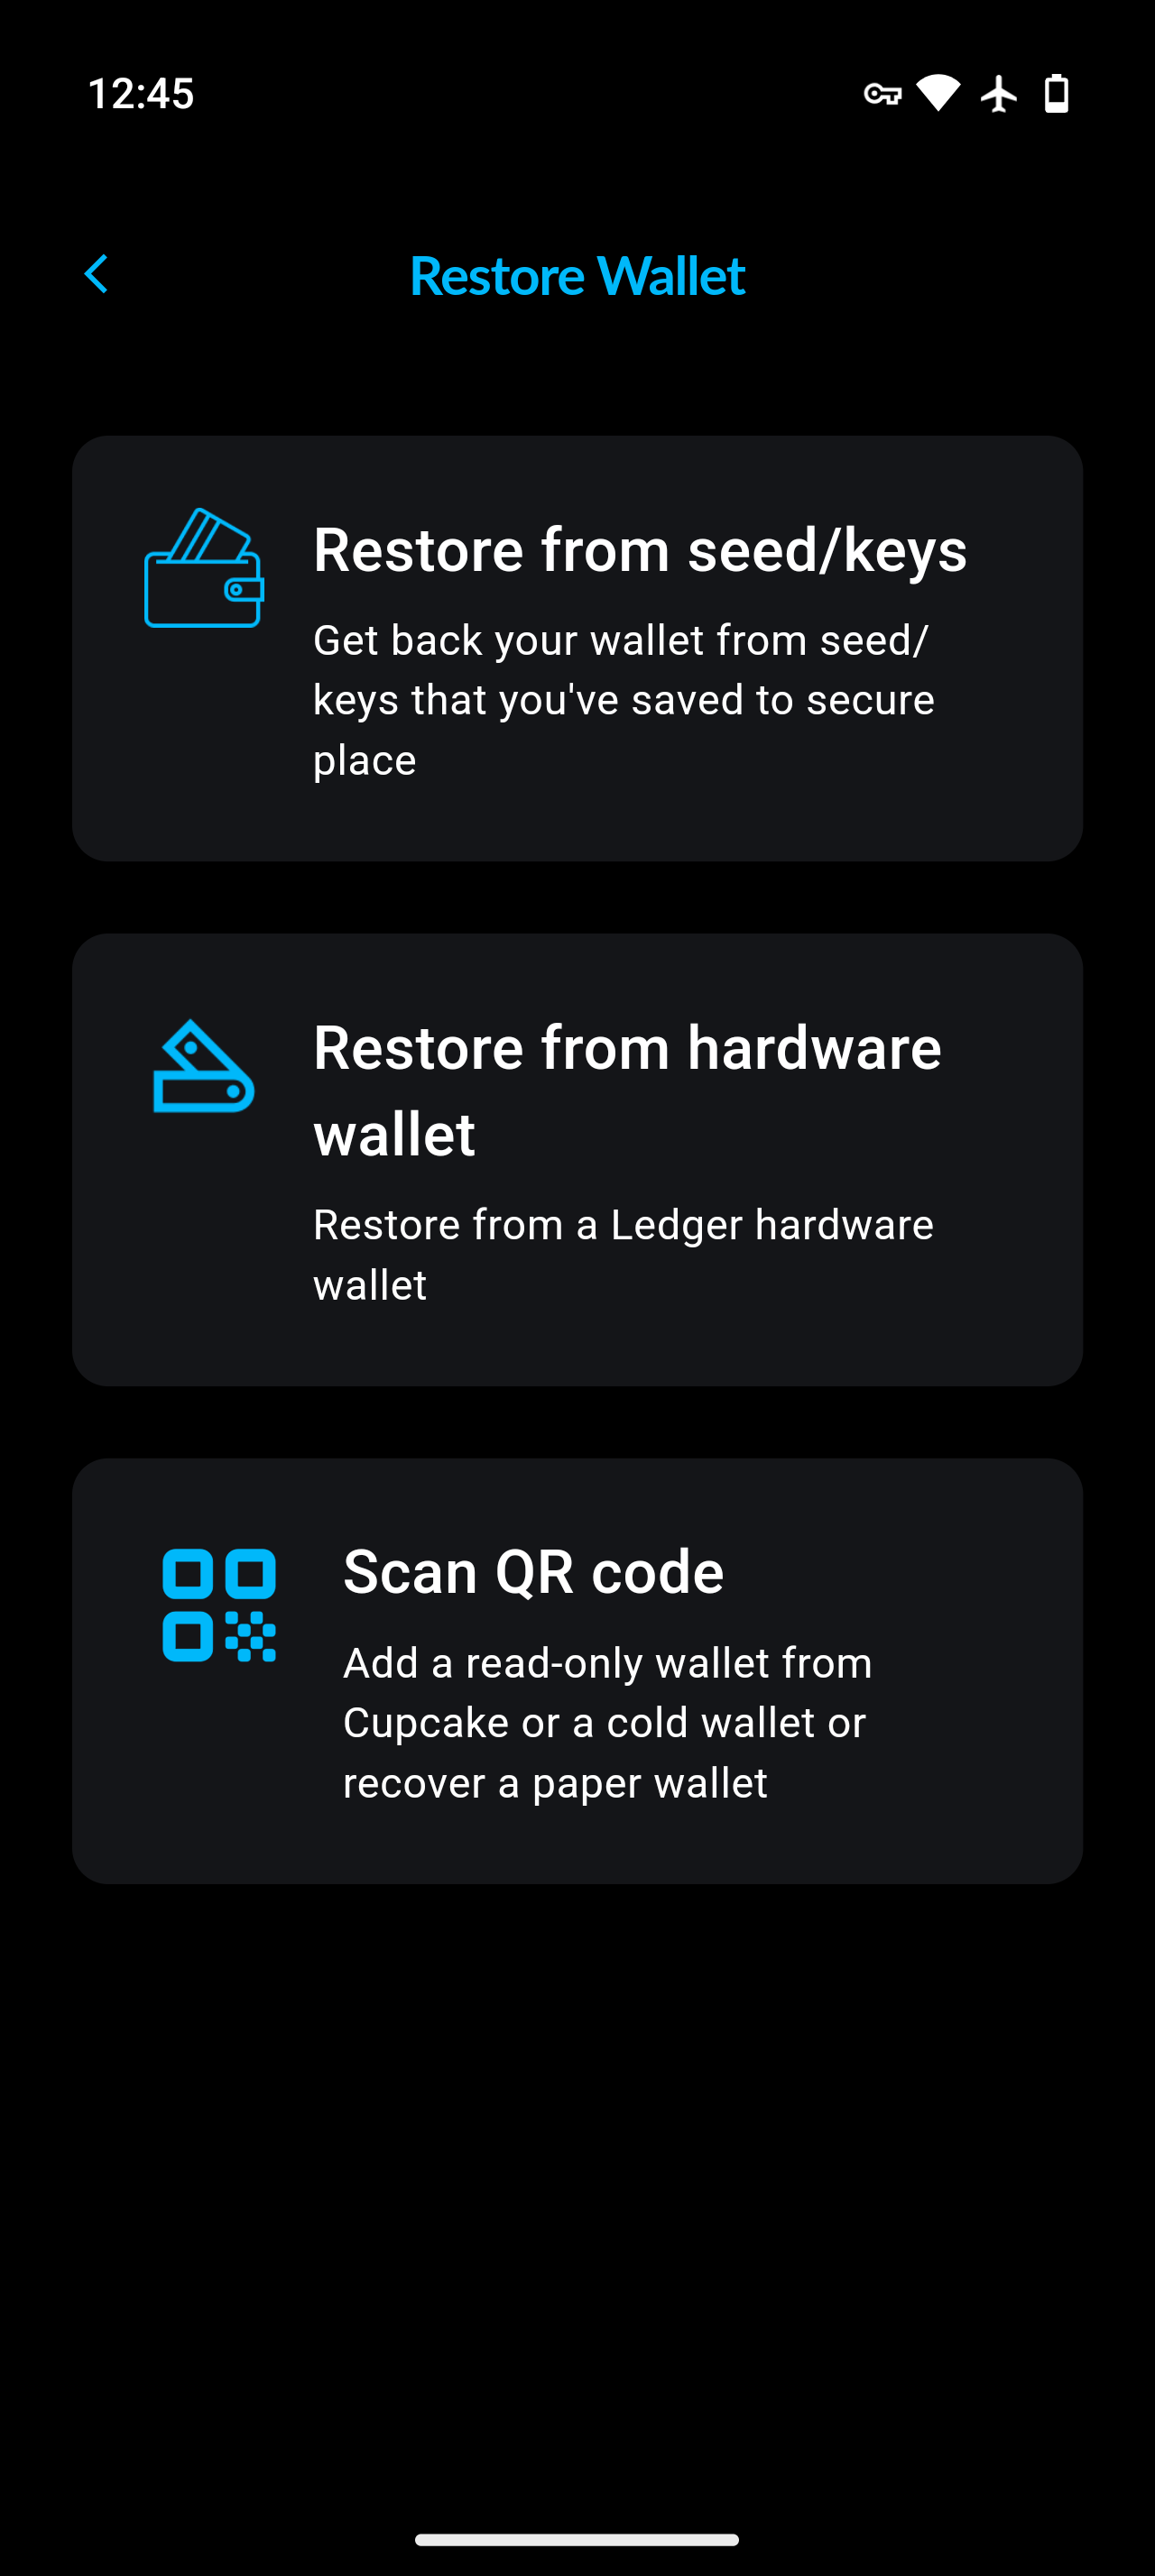
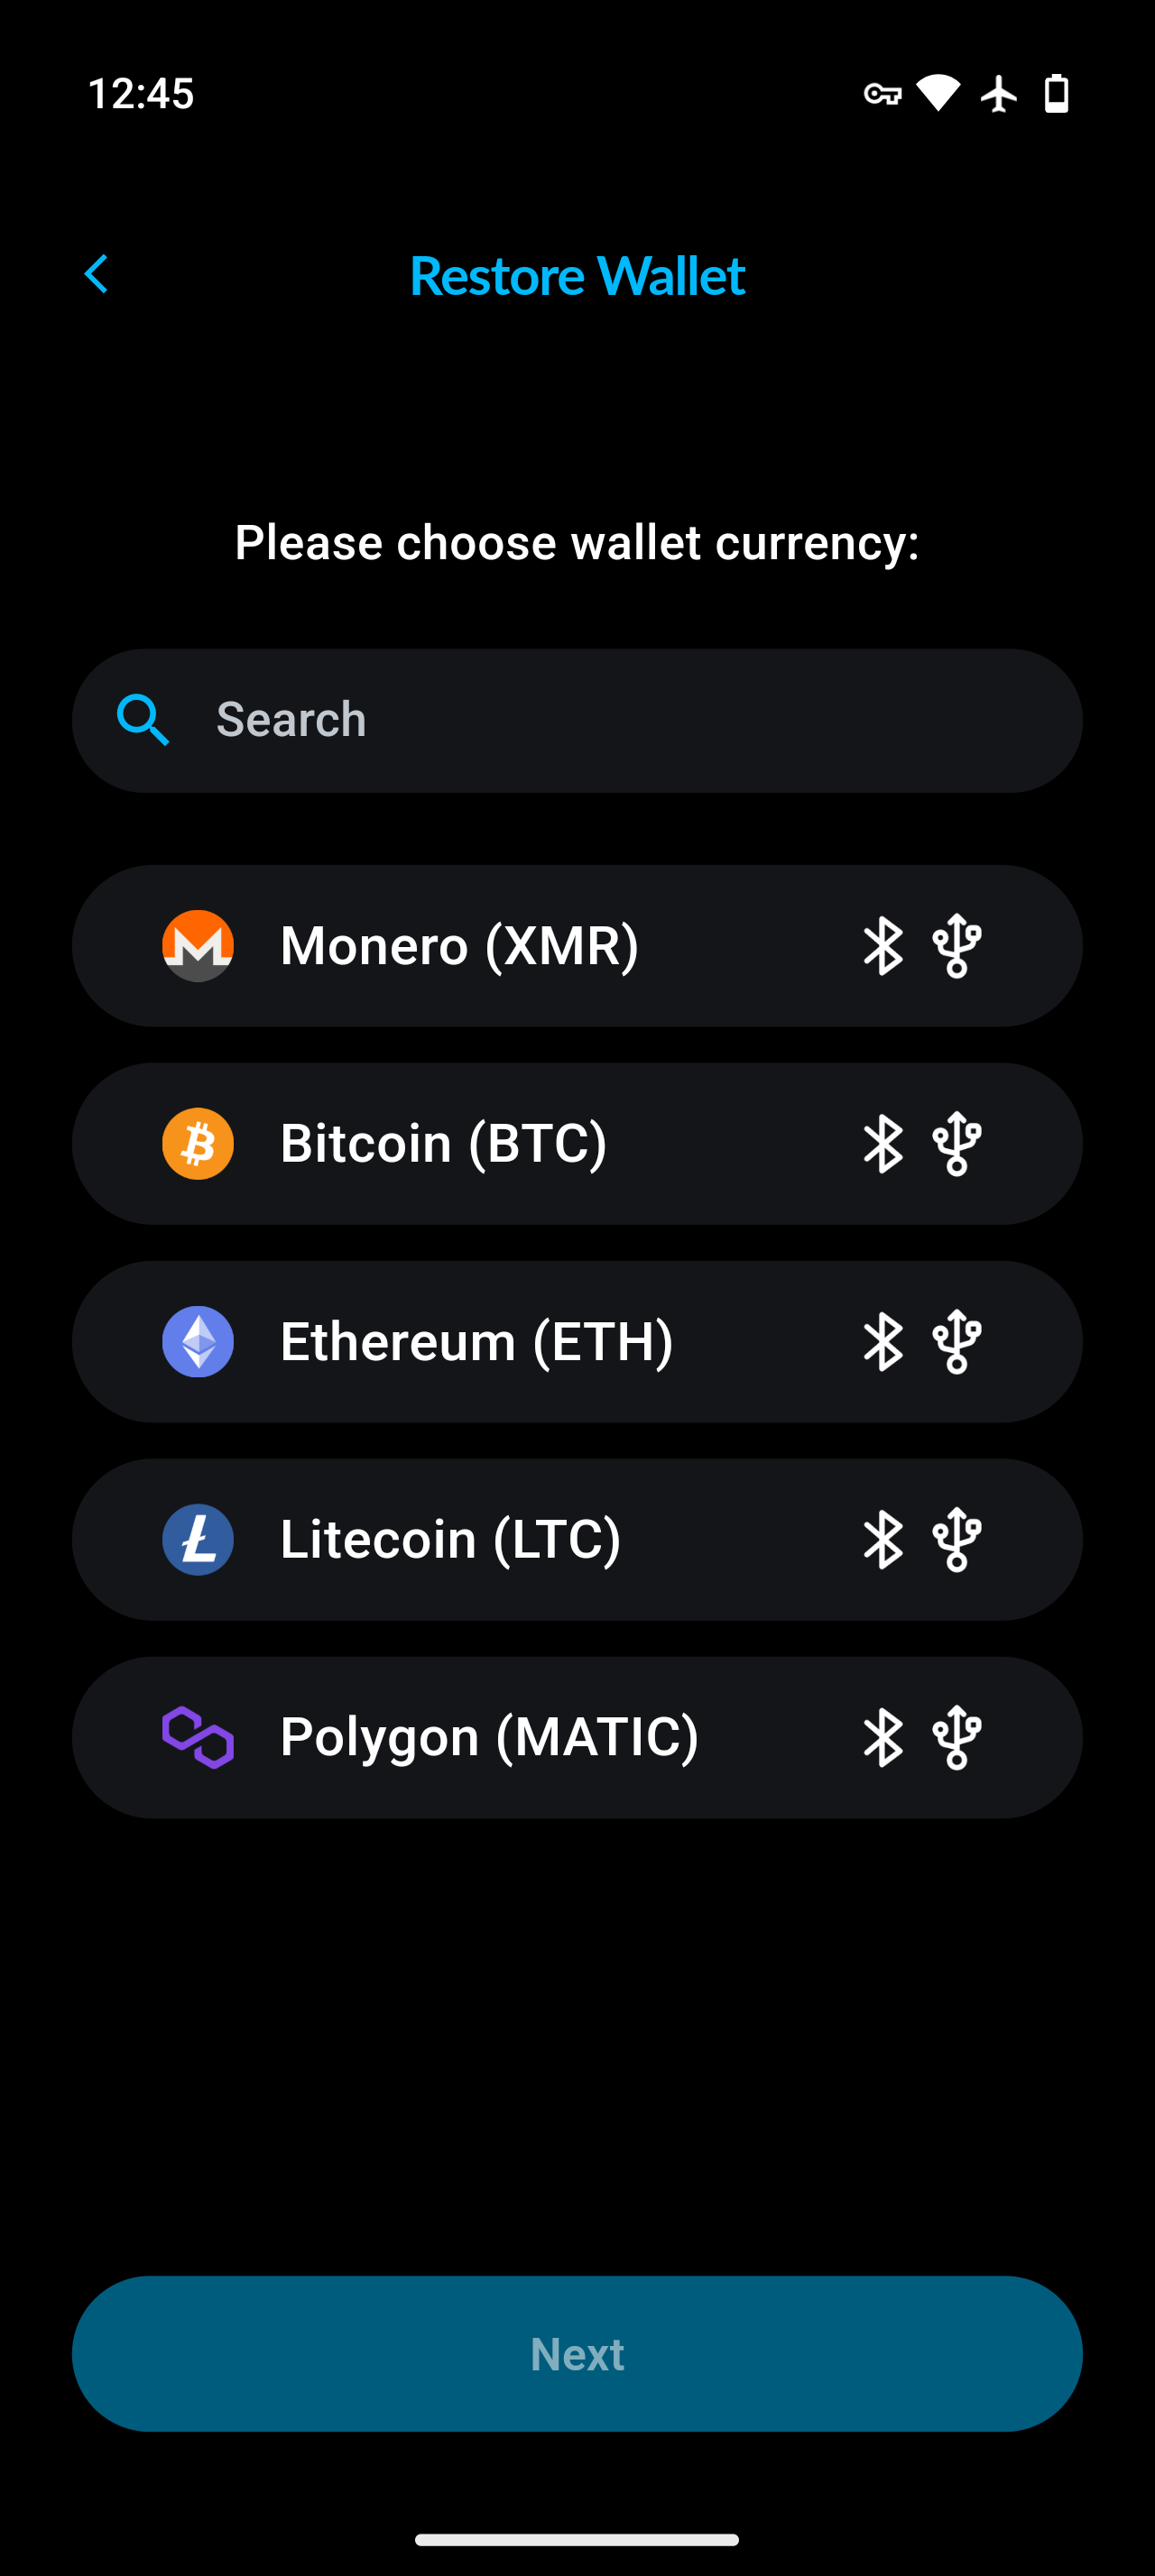
On the `Restore Wallet` screen, tap `Hardware wallet`, then choose the wallet type.
{% endstep %}
{% step %}
### Step 3
Connect your hardware wallet device.
On Android, Ledger and Trezor devices can connect over Bluetooth or USB, and BitBox connects over USB. **USB connections are available on Android only.** On iOS and macOS, Ledger devices connect over Bluetooth, and on iPhone and iPad a Trezor needs to be a Safe 7 (see the Trezor note above).
Air-gapped devices such as COLDCARD and Cupcake are never connected: instead of this step, you scan QR codes back and forth between Cake Wallet and the device.
Make sure the required app is open on your device *before* selecting it: Ledger and BitBox devices use per-coin apps, while Trezor devices need no app for Bitcoin or Monero.
Once you see your device, select it from the menu and allow access (if applicable).
 
{% endstep %}
{% step %}
### Step 4
Select your desired account and name you wallet.
Then tap `Next`, and you will be in a view mode of your hardware wallet's account, indicated by the icon next to the wallet type.
 
{% endstep %}
{% endstepper %}
## Trezor: passphrase and pairing
When you add a Bitcoin or Monero wallet from a Trezor, Cake Wallet shows an `Almost Ready` screen before it continues:
* Turn on `Passphrase (Optional)` if this wallet has a passphrase. You can then type it in Cake Wallet under `Passphrase`, or turn on `Enter passphrase on device` to type it on the Trezor instead.
* On a Safe 7, the first time you pair you type the `Pairing Code` shown on the device into Cake Wallet. Cake Wallet remembers the pairing, so you aren't asked for the code again, and you may also see an `Auto-connect` toggle.
* Tap `Skip` if you don't need any of these, or `Continue` once you've set them.
Tutorial video
[](https://youtu.be/jExAUzETuuo)
---
# Agent Instructions
This documentation is published with GitBook. GitBook is the documentation platform designed so that both humans and AI agents can read, navigate, and reason over technical content effectively. Learn more at gitbook.com.
## Querying This Documentation
If you need additional information that is not directly available in this page, you can query the documentation by asking a question.
Perform an HTTP GET request on the following URL with the `ask` and `goal` query parameters:
```
GET https://docs.cakewallet.com/get-started/setup/restore-existing-wallet/hardware-wallet.md?ask=&goal=
```
`ask` is the immediate question: it should be specific, self-contained, and written in natural language.
`goal` is what the user is ultimately trying to achieve, the reason they need the answer. Sharing it helps GitBook give you a better, more relevant answer. A goal is most helpful when it describes the outcome the user wants rather than restating the question. For example, with `ask=how do I create an API token`, a goal like `automate deployments from our CI pipeline` lets GitBook tailor the answer to that use case.
The response will contain a direct answer to the question and relevant excerpts and sources from the documentation.
Use this mechanism when the answer is not explicitly present in the current page, you need clarification or additional context, or you want to retrieve related documentation sections.